
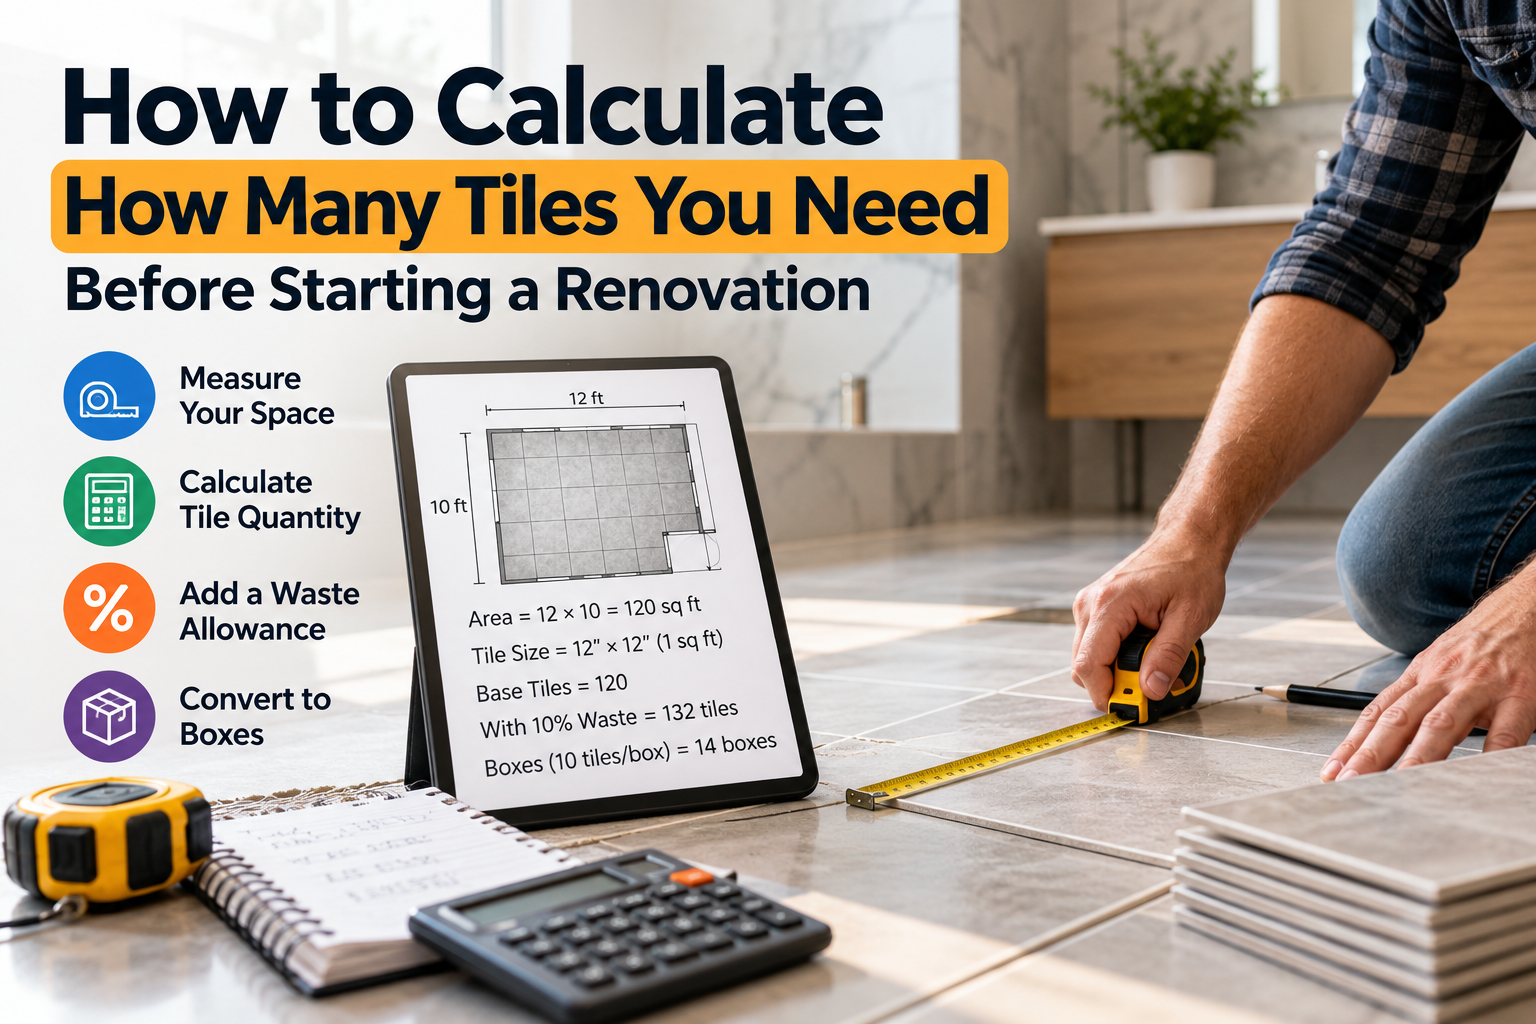
How to Calculate How Many Tiles You Need Before Starting a Renovation
Renovating a bathroom, kitchen, hallway, or living space can be exciting, but one of the easiest mistakes to make is buying the wrong amount of tile.
Order too little, and you may have to stop the project while waiting for another delivery. Order too much, and you could end up with boxes of unused material taking up space and tying up your budget.
The good news is that calculating tile quantities doesn’t have to be complicated. Once you know the area you’re covering, the size of your tiles, and an appropriate allowance for cuts and breakage, you can make a much more accurate estimate before placing your order.
Here’s a practical step-by-step method you can use for your next renovation.
1. Measure the Area You Want to Tile
Start by measuring the surface that will receive the tile.
For a simple rectangular floor, measure:
- Length
- Width
Then multiply the two measurements:
Floor area = Length × Width
For example, suppose a room is 12 feet long and 10 feet wide:
12 × 10 = 120 square feet
You therefore have 120 square feet of floor area to cover.
For a wall, the calculation is similar:
Wall area = Width × Height
If you’re tiling several walls, calculate each wall separately and add the areas together.
What if the room isn’t a perfect rectangle?
Many rooms have alcoves, extensions, corners, or other irregular shapes. Rather than trying to calculate the entire shape at once, divide it into smaller rectangles.
Calculate the area of each rectangle and then add the results.
For example:
- Section A: 10 × 10 = 100 sq ft
- Section B: 5 × 4 = 20 sq ft
- Total = 120 sq ft
This approach reduces the chance of making a measurement mistake.
2. Subtract Areas That Won’t Be Tiled
If you’re calculating wall tile, you may have doors, windows, or other openings that don’t need tile.
For example, if a wall has a total area of 80 square feet and a window occupies 12 square feet:
80 − 12 = 68 square feet
Your net tiled area is therefore 68 square feet.
For floors, don’t automatically subtract every piece of furniture that happens to sit on the floor. If the tile will eventually run underneath a cabinet, vanity, appliance, or other permanent fixture, that area may still need to be tiled.
3. Determine the Area Covered by One Tile
Next, find the dimensions of the tile you’re planning to buy.
Tile sizes are commonly printed on the packaging. They may be listed in inches, centimetres, millimetres, or feet, so make sure you’re using compatible units.
For a 12 × 12 inch tile:
- 12 inches = 1 foot
- 12 inches = 1 foot
Therefore:
1 × 1 = 1 square foot per tile
If you’re using a 24 × 24 inch tile:
- 24 inches = 2 feet
- 24 inches = 2 feet
Therefore:
2 × 2 = 4 square feet per tile
The basic formula is:
Tile area = Tile length × Tile width
When using inches and calculating square feet, divide the result by 144:
Tile area (sq ft) = (Length in inches × Width in inches) ÷ 144
4. Calculate the Base Number of Tiles
Once you know your project area and the area covered by one tile, divide the first by the second.
Base tile quantity = Total area ÷ Area of one tile
For example:
- Room = 120 sq ft
- Tile = 12 × 12 inches
- One tile = 1 sq ft
Therefore:
120 ÷ 1 = 120 tiles
At this point, you might think you need exactly 120 tiles. However, you generally shouldn’t order exactly that amount.
That’s because real installations involve cutting, breakage, corners, edges, pattern matching, and other losses.
5. Add a Waste Allowance
A waste allowance gives you a buffer for tiles that can’t be used in the final installation.
A straight installation in a relatively simple rectangular room may require around 10% extra as a starting point. More complicated layouts can require more.
For example, a diagonal or patterned installation can produce more offcuts because more tiles need to be cut.
A practical planning range is often:
- Around 10% for straightforward layouts
- Around 15% for more complicated layouts
- 15–20% or more may be appropriate for particularly complex patterns, many corners, niches, or extensive cutting
The correct allowance depends on the project, tile size, layout, and installer. These percentages should therefore be treated as planning guidelines rather than a universal rule.
Example with 10% waste
Our room requires 120 tiles before waste.
10% of 120 is:
120 × 0.10 = 12 tiles
Add those 12 tiles to the base quantity:
120 + 12 = 132 tiles
So the target purchase quantity is approximately 132 tiles.
You can also calculate it in one step:
Tiles to buy = Base tiles × 1.10
6. Don’t Forget the Tile Layout
The pattern you choose can change how much tile you need.
A basic straight layout generally creates less cutting than layouts such as:
- Diagonal
- Herringbone
- Basketweave
- Chevron
- Other decorative patterns
The more complicated the pattern, the more important it becomes to plan your cuts before ordering.
This is especially relevant around:
- Corners
- Doorways
- Niches
- Pipes
- Drains
- Cabinets
- Fixtures
- Irregular walls
If you’re using a patterned tile, you may also need additional material to keep the pattern aligned.
7. Convert the Tile Quantity Into Boxes
Tiles are often sold by the box rather than individually.
Look at the packaging to determine either:
- How many tiles are in one box, or
- How many square feet/metres one box covers
If the box contains 10 tiles and your calculation requires 132 tiles:
132 ÷ 10 = 13.2 boxes
You cannot purchase 0.2 of a box, so round up:
14 boxes
Always round up to a complete box rather than rounding down.
If the manufacturer provides coverage per box, you can alternatively calculate the required coverage and divide by the box coverage.
8. Example: Complete Floor Calculation
Let’s put everything together.
Suppose you’re renovating a bedroom measuring:
12 ft × 10 ft
You want to install:
12 × 12 inch tiles
Step 1: Calculate floor area
12 × 10 = 120 sq ft
Step 2: Calculate tile area
12 × 12 inches = 1 sq ft
Step 3: Calculate base tile quantity
120 ÷ 1 = 120 tiles
Step 4: Add 10% waste
120 × 1.10 = 132 tiles
Step 5: Calculate boxes
If there are 10 tiles per box:
132 ÷ 10 = 13.2
Round up:
14 boxes
So you would plan for approximately 132 tiles or 14 boxes.
9. Bathroom and Wall Tile Requires More Measuring
Bathrooms can be slightly more complicated because you may be tiling several different surfaces.
For example, a bathroom renovation might include:
- Floor
- Back wall
- Two side walls
- Shower walls
- Backsplash
- Niche
Don’t assume that one measurement is enough.
Measure each tiled surface separately, calculate its area, account for openings where appropriate, and then combine the quantities.
For shower areas in particular, remember to measure each wall individually. A shower may also contain niches, benches, doors, windows, or other features that affect the amount of cutting required.
10. Use a Tile Calculator to Reduce the Math
You can do all of these calculations manually, but a calculator can make the process faster and reduce arithmetic mistakes.
A free tile calculator can help you estimate the number of tiles required based on your project dimensions and tile size, while also accounting for a waste allowance.
This is particularly useful when you’re comparing different tile sizes or working on several rooms.
Instead of repeatedly calculating:
Area → Tile area → Base quantity → Waste → Boxes
you can enter your measurements and use the resulting estimate as a starting point for your material order.
11. Buy From the Same Batch When Possible
Even if your calculations are accurate, there is another reason to avoid ordering too little tile: matching the original tile later isn’t always guaranteed.
Tiles from different production batches can sometimes have variations in shade, finish, or tone. A product may also become unavailable or discontinued.
For that reason, it can be sensible to keep a small number of matching spare tiles after the renovation, particularly for floors and areas that are difficult to repair later.
12. Check the Manufacturer’s Information Before Ordering
A calculator provides an estimate, but the product packaging and manufacturer’s specifications should still be checked before making a final purchase.
Look for:
- Coverage per box
- Number of tiles per box
- Actual tile dimensions
- Recommended installation method
- Batch or lot information
- Any special installation requirements
The amount of adhesive and grout you need should also be calculated separately because their coverage varies by product, tile size, grout-joint width, substrate, and installation method.
A Simple Formula to Remember
For a basic rectangular project, the calculation can be summarized as:
1. Area = Length × Width
2. Tile area = Tile length × Tile width
3. Base tiles = Project area ÷ Tile area
4. Add waste = Base tiles × (1 + waste percentage)
5. Boxes = Total tiles ÷ tiles per box
Then round the final result up to the required whole tile or box.
Final Checklist Before You Buy
Before ordering your tiles, check:
- Have I measured every surface?
- Did I use the same measurement units throughout?
- Did I subtract relevant wall openings?
- Did I confirm the actual tile dimensions?
- Did I account for the layout and cutting requirements?
- Did I add an appropriate waste allowance?
- Did I check how many tiles are in each box?
- Did I check the coverage stated on the packaging?
- Did I order complete boxes?
- Did I consider keeping some spare tiles for future repairs?
Plan Before You Purchase
Accurate tile calculations aren’t about finding a single magic percentage. The final quantity depends on the size and shape of the area, tile dimensions, installation pattern, number of cuts, and the amount of spare material you want to keep.
Taking a few extra minutes to measure properly and calculate the quantity before ordering can help prevent both shortages and unnecessary over-ordering.
If you want to avoid doing the calculations manually, you can use the Tile Calculator to estimate your tile quantity before you start shopping.